Push Notifications : Pushwoosh Component Template
Description
This component template demonstrates the use of the Pushwoosh plugin which enables sending and receiving push notifications powered by Pushwoosh.
Discussion
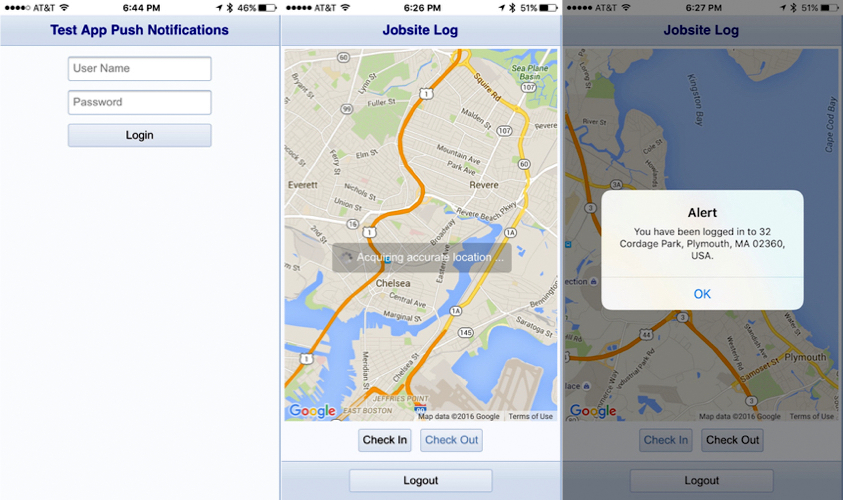
The component requires the user to login using the Alpha Security Framework and upon successful login, a private push notification is sent to an administrative app user. A map is then displayed, allowing the user to login to a specific location. A typical use case might be a service technician checking in to a job site. When the user checks in, the device's lat/lon is reverse geocoded (using Google's geocoding API) and the location address is sent via a push notification to an administrative user.
Videos
Video #1: Pushwoosh Component Template Overview
Video #2: Setup and Configuration
Setup and Configuration Checklist
Included in the link below is a PDF file that provides a configuration checklist for use with the configuration video. Print it out as a guide so you can check off each step upon successful completion.
[20 Steps To Configure Pushwoosh with PhoneGap Build, Android, and iOS]
Video #3: Component Configuration
Pushwoosh Account Sign-up
Visit the Pushwoosh website at http://www.pushwoosh.com to setup a trial account. The trial account is valid for 14 days and gives you full access to all of the services offered by Pushwoosh.

Creating A Pushwoosh Application
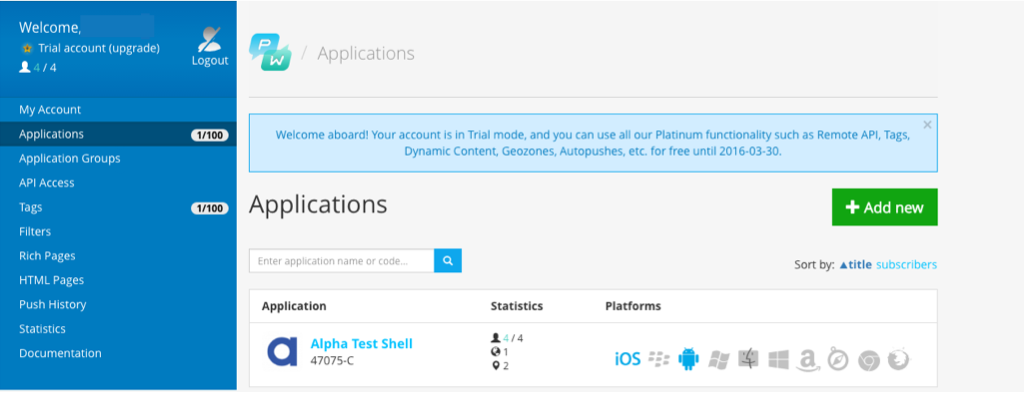
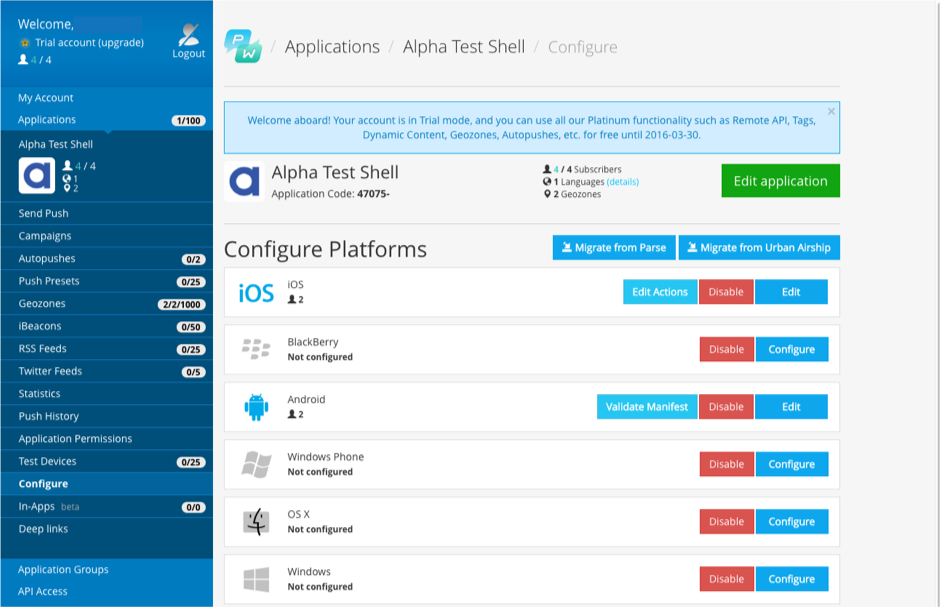
To add your application and enable push notifications for your apps, click on the Applications link in the Pushwoosh control panel and create a new application. This will generate an application code that is required for Alpha Anywhere to communicate with Pushwoosh.
Android Configuration
Your Android application must be configured to use the Firebase Cloud Messaging (FCM) service. Prior to September of 2016, Google Cloud Messaging (GCM)was used.
You will use the Google Cloud Platform Console to setup a project and to enable the FCM service for your app.
See http://docs.pushwoosh.com/docs/fcm-configuration
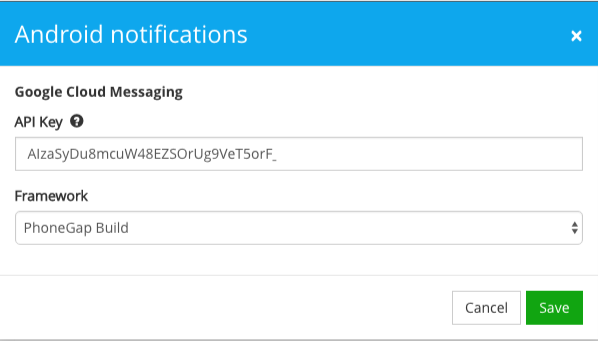
Make sure to set the framework to PhoneGap Build.
iOS Configuration
Your iOS application must be configured to connect to the Apple Push Notification Service.
This is a multi-step process when using PhoneGap Build and iOS. As with all native iOS development, you will need to have an Apple Developer Account. If you are currently building PhoneGap apps for development purposes you have most likely setup a iOS Wildcard App ID and your PhoneGap Build iOS credentials are using the iOS Wildcard App ID. For push notifications you will need to setup an App ID for a single application and enable Push Notifications for this App ID. For testing purposes, it's probably best to use the PhoneGap Shell App to load the component template because this will enable push notifications for any component that is loaded by the PhoneGap Shell App.
As of October, 2020, PhoneGap Build can no longer be used to build applications. PhoneGap Build has been shut down. You must use Cordova CLI to build iOS applications.
The Pushwoosh iOS documentation will step you through the process of generating a certificate request, creating a new app id and configuring the new app id for use with push notifications. In some ways it will appear similar to configuring PhoneGap Build for use with your iOS developer certificate and provisioning profile but it is not the same. In order for PhoneGap Build to create an app that will work with the APNs certificate and credentials that you created in the step above, you will need to upload a new certificate and provisioning profile to PhoneGap Build that include the new push enabled app id. You can do this after you complete the iOS configuration for Pushwoosh. To configure your app to use APNS with Pushwoosh, see: See: Pushwoosh APNs Configuration
Next, you will need to generate a new provisioning profile that associates the new App ID with your developer credentials. If you are using a developer account, the provisioning profile also includes the UDIDs for the devices that the app is allowed to install and run on. The developer certificate and the provisioning profile are the files required by PhoneGap Build.
Once your new provisioning profile is created, it should look similar to the images below
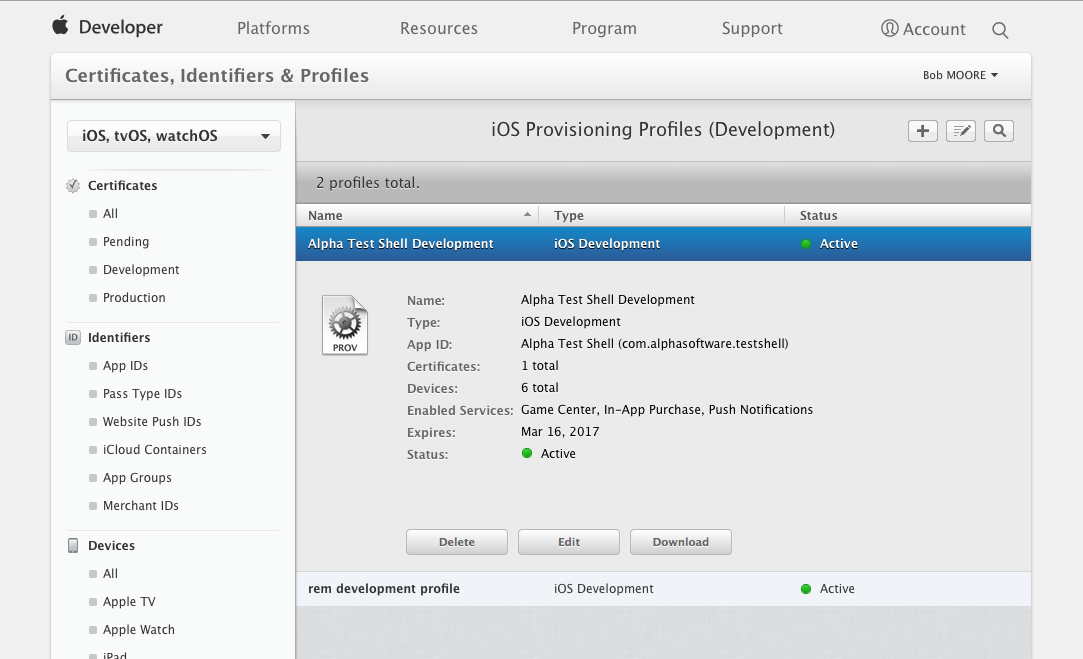
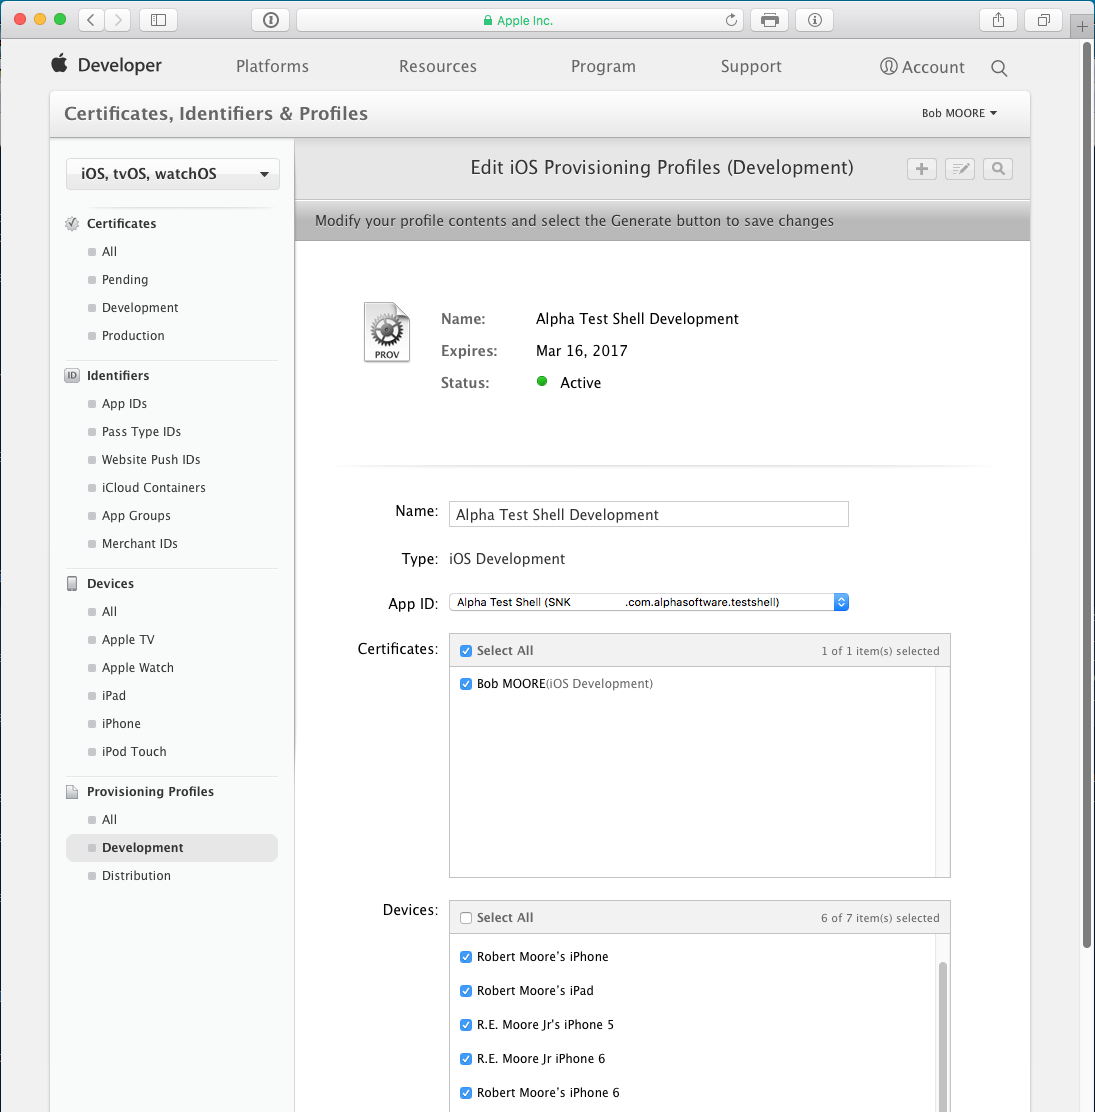
At this point, you need to upload your developer certificate and provisioning profile to PhoneGap Build. See: PhoneGap iOS Signing Documentation
Help is available If you find that you need help generating the required iOS certificates and provisioning profiles feel free to contact our Professional Services Group to purchase a support contract. We can handle all of this for you.
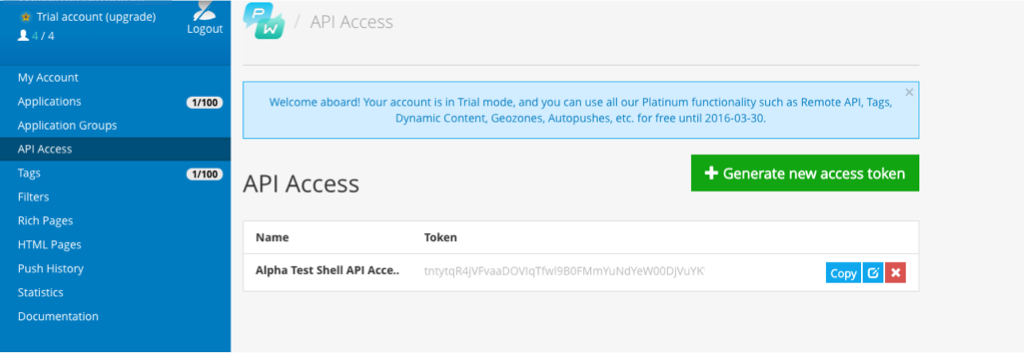
API Key
You'll need to generate API key to allow the Alpha server side Xbasic code to communicate with Pushwoosh. You can copy and paste this number into the appropriate location in the component template's Xbasic code.
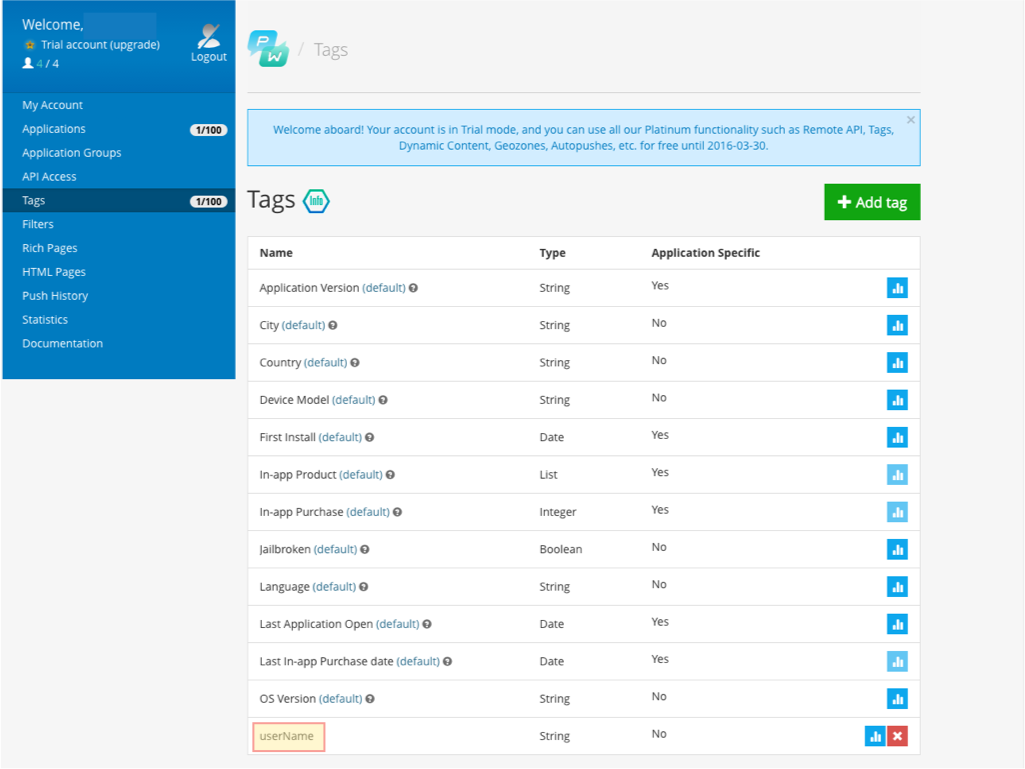
Add A Custom Tag
Create a new custom tag called userName to store the logged in user name. See the configuration video for further details.
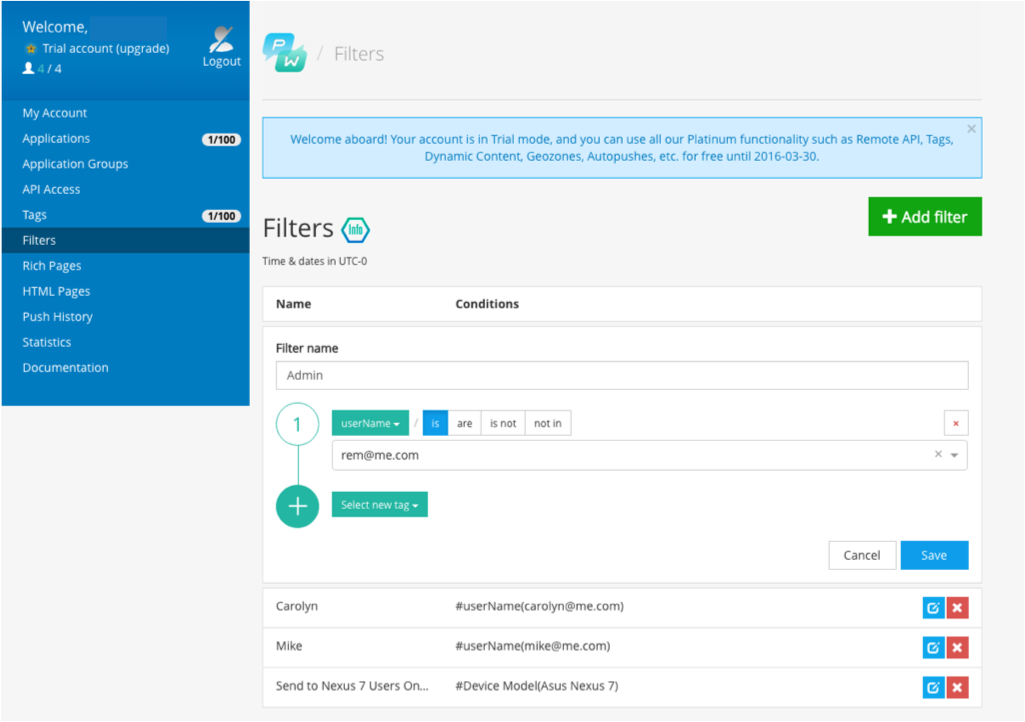
Add A Filter
Create a filter called Admin and set the user name to the admin user login name. See the configuration video for further details.
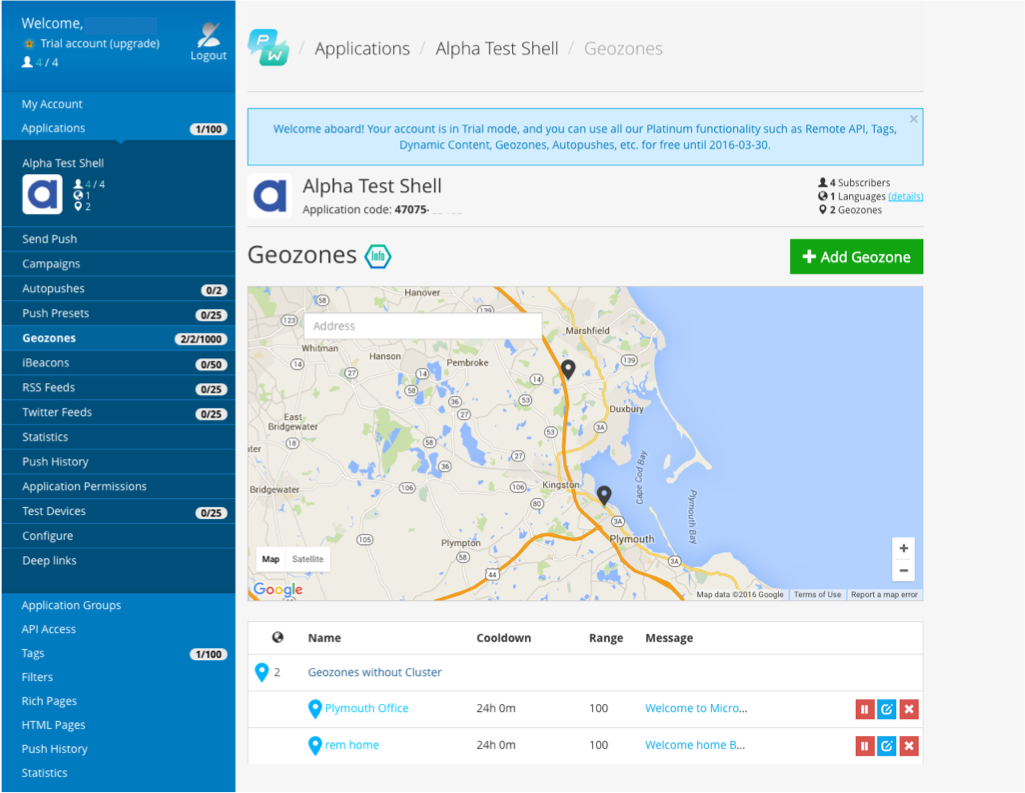
Adding Geozones
You can also setup some geozones. When a device enters a geozone, the user can receive a push notification. The component template is configured to support geozones if they exist.
For More Information
Please review the videos listed in the Videos section above for in depth configuration and implementation details regarding the Pushwoosh UX Component Template.