AudioRecorderAndPlayer Control
Description
The AudioRecorderAndPlayer control allows you to add a control to the UX component to play audio files and to record audio files in Cordova applications. Rich Data Capture.
In order for the UX Audio Player and Audio Player/Recorder controls to work with iOS 12.2, the iOS Media Playback Requires User Action property must be disabled in the Cordova configuration. This is the default value for new Cordova projects using Alpha Anywhere build 5771 and newer.
To change this setting in existing projects, check the Show Advanced Options property in the Cordova App Builder Genie and uncheck the Media Playback Requires User Action option.
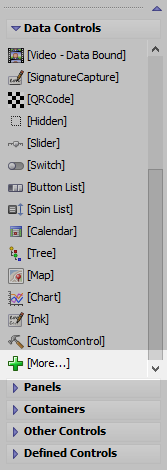
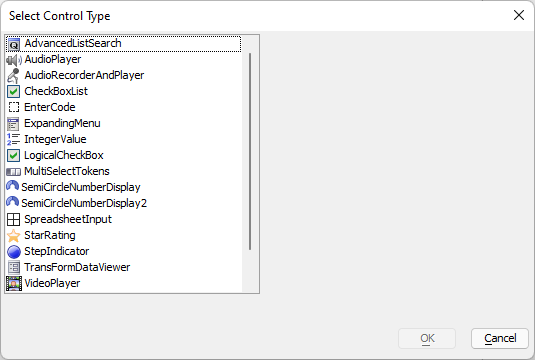
To add a new AudioRecorderAndPlayer control to the UX, select the [More...] entry in the controls toolbox (in the 'Data Controls' section) and then select the 'AudioRecorderAndPlayer' control.

The AudioRecorderAndPlayer controls is a dual purpose control. It can be used to play audio files (or streams) and it can also be used to record audio files.
You can only record audio files if you are using Cordova.
When you build your Cordova application you must must ensure that the Media plugin has not been selected:

and that the Media With Compression plugin has been selected.

In addition, you are likely to need to upload the captured audio files to a server so the following Cordova plugins should also be loaded: Device, File, File transfer.
When you add an AudioRecorderAndPlayer control to your UX you customize the control properties by clickin the smart field for the Control properties.
The customization genie allows you to set customize text and also set the maximum recording duration (in seconds).
When the component is run, the AudioRecorderAndPlayer control will look like this (if not audio file has been loaded for playback):

The red circle button will put the control into record mode. When the control is in record mode, it will appear as follows:

The Done button (text on this button is customizable -- you can use language, or text dictionary tags for International applications- <a5:r> or <a5:t>) becomes enabled. This button indicates that you want to end the recording. The record button changes to a Pause button. You can use this button to pause the recording.
The horizontal line at the top of the control indicates the recording level. The color of the line will be orange, green or red to indicate if the recording level is too low, ok or too high.
The number on the right indicates the duration of the recording.
If you set the value of the control to an audio stream or an audio file ( using the {dialog.object}.setValue() method ), the control's appearance will change as shown below.
The control is now in 'Player' mode. The play button in the center of the control will start playback. The small record button at the left of the control will allow you to switch the control from 'Player' mode to 'Record' mode.

JavaScript Methods
JavaScript methods are available for the AudioRecorderAndPlayer control. Methods can be used for recording and playback. To call the methods, you must first get a reference to the JavaScript object for the AudioRecorderAndPlayer control using the {dialog.object}.getControl() method:
//Get a pointer to the AudioRecorderAndPlayer control with the ID 'AUDIO_CONTROL':
var audioObj = {dialog.object}.getControl('AUDIO_CONTROL');

if (audioObj) {
    // Pause the recording
    audioObj.pause();
}
The AudioRecorderAndPlayer has methods for both playback and recording. See the A5.audio Namespace for more information on the methods and properties available for the AudioRecorderAndPlayer JavaScript object.
Inserting an Add-in Control
Add-in Controls are inserted using the More... option in the Data Controls section of the UX Builder.
Select the control you would like to add and click OK.
In addition to the controls that ship with Alpha Anywhere, you can also create your own add-in controls. See How to Create Add-in Controls to learn more.
Limitations
Cordova Applications Only
See Also