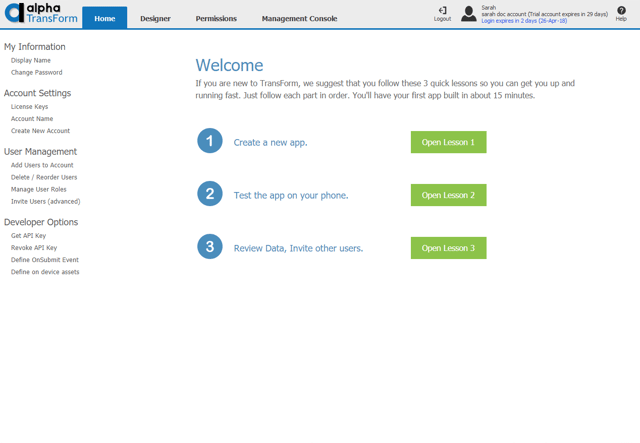
Whenever a TransForm user uploads forms from the TransForm App, they are updated in the Management Console in TransForm Central.
The Management Console is where you can view and manage user forms, including adding comments, editing forms, adding new forms, and exporting forms from TransForm Central. Let's take a look at the Equipment Inspection form that was submitted in the previous tutorial.
Viewing Uploaded Forms
- Go to transform.alphasoftware.com. Log in if you are not already logged in.
- Click on the Management Console tab.
- Select the Equipment Inspection Form Type from the Types of Forms list to view the form you uploaded to the TransForm cloud in the previous tutorial.

- Select a form from the list of Equipment Inspection forms by clicking anywhere in the row (except the checkbox). You should see the form you uploaded in the previous tutorial in the list of Equipment Inspection forms.
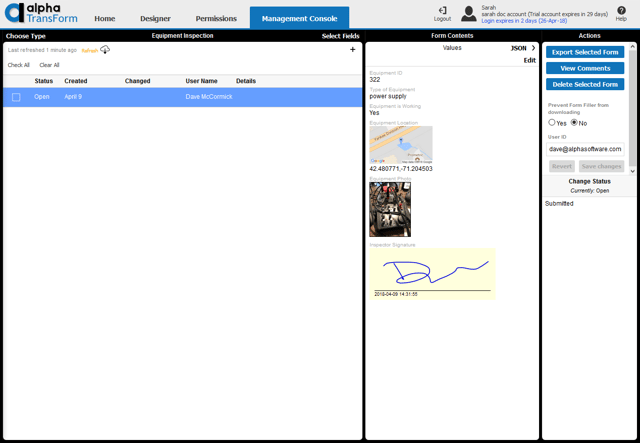
When you select a form, the form's fields and values will be shown in the Form Contents column. Several actions are available in the Actions column. You can come back and try these options later. For now, here is an explanation of what the actions do:
- Export Selected Form - Allows you to export one or more forms from TransForm Central to another file format that can be downloaded or emailed. Use the checkbox in the form list to select multiple forms for export.
- View Comments - Allows you to view and add comments to a form.
- Delete Selected Form - Deletes the form. Be careful! There is no undo for this action. Use the checkbox in the form list to select multiple forms to delete.
- Prevent Form Filler from downloading - This setting is used to prevent a form from being downloaded to the user's device. If set to "Yes", the form will be removed from the user's device the next time they download updates from the TransForm cloud.
- User ID - The user to which the form belongs. Use the "Revert" button to set the form owner back to the original user.
- Change Status - Used to change the form status, e.g. from "Open" to "Submitted".
Adding Users to Your TransForm Account
In this section, we'll add authorized users to your TransForm account and set them up with roles to indicate what they are allowed to do as a member of your TransForm account. It is not necessary for the people you add to your account to already have TransForm accounts. Users who do not have a TransForm account will be sent an email invitation to create a TransForm user account.
To add users to your account:
- On the Home tab in TransForm Central, click Add users.
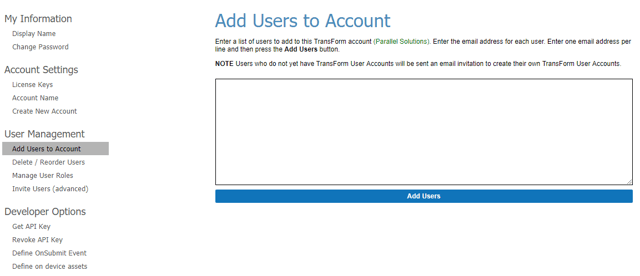
- Type the email addresses for people you want to add to your TransForm account. Type one email address per line. For example:
don@example.com
evelyn@example.com
- After you have entered the email addresses for the people to add to your TransForm account, click the Add Users button. This adds the users to your TransForm account. Each account will be assigned the "User" role. You can manage roles for users using Manage user roles, which is discussed in the next section.
Managing User Roles
User Roles define what privileges a user who is a member of your TransForm account can do.
TransForm has several pre-defined roles. The actions that a user can perform in each role are listed below:
- User - Can fill out and submit forms using the Alpha TransForm mobile app.
- Account Administrator - Can add other users and set roles.
- Form Designer - Can design Form Types on the Designer tab.
- Management Console - Gives user access to the Management Console where submitted data can be reviewed.
- Supervisor - Can manage submitted forms on the Management Console (assign a form status of submitted, closed, approved, etc.) Typically used in a workflow where submitted forms require approval before they can be marked closed or complete by a user.
User roles are assigned through the Home tab. To view and assign user roles for users in your TransForm account, follow the instructions below:
- On the Home tab in TransForm Central, click Manage user roles.
- Select the user from the list that you would like to view or modify their roles. Use Ctrl+Click to assign multiple roles to a user.
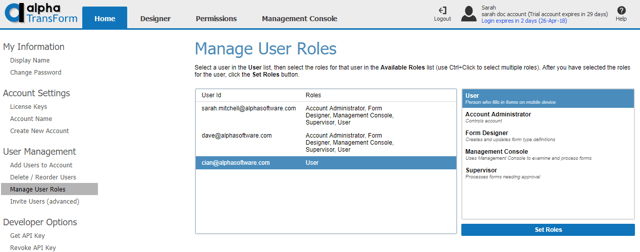
- When you are satisfied with the assign roles, click Set Roles to assign the roles to the user.
- Repeat the previous two steps for each user.
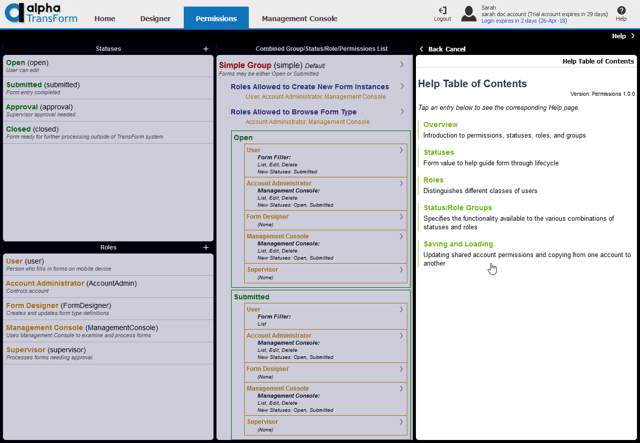
In addition the predefined roles, you can create your own roles on the Permissions tab. We will not go into detail on how that is done, however you can find information on how create and edit permissions in the TransForm Central help. To access the help for permissions, go to the Permissions tab and click on the Help link located in the upper right-hand corner.
Congratulations
You've completed the Alpha TransForm tutorial. If you have any questions about this tutorial, visit our FAQ or send them to tfservice@alphasoftware.com.