Welcome to Alpha TransForm! In this 3 part tutorial, we'll walk you through the process of creating, filling, and submitting your first form in Alpha TransForm. NOTE: You may want to watch this tutorial as a video before doing it yourself. Watch it here.
If you have two monitors, we recommend you keep this tutorial open on one monitor while you do the tutorial on the other monitor.
If you have one monitor, open this tutorial in another tab.

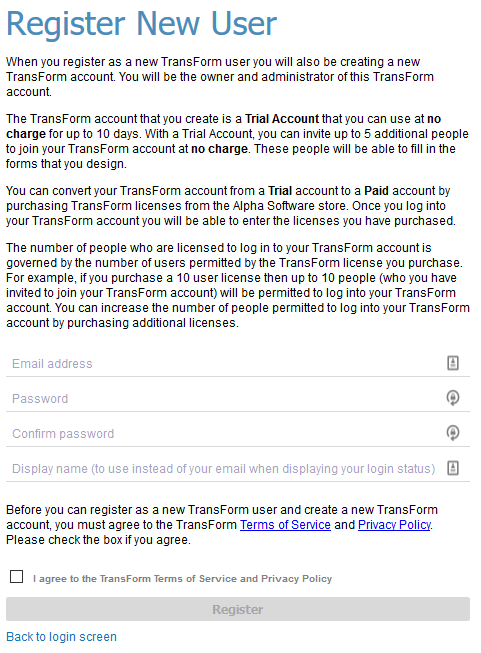
In Alpha TransForm, a "form type" is the term for a form design. Let's begin by creating a new blank form type.

New Form1 . 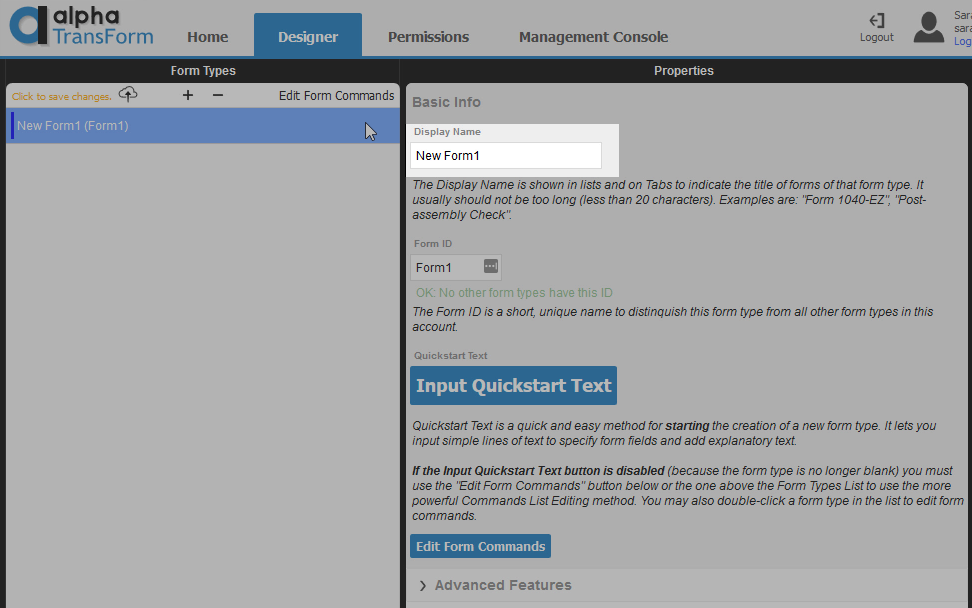
Equipment Inspection in the Display Name text box. This gives the form a meaningful name. 
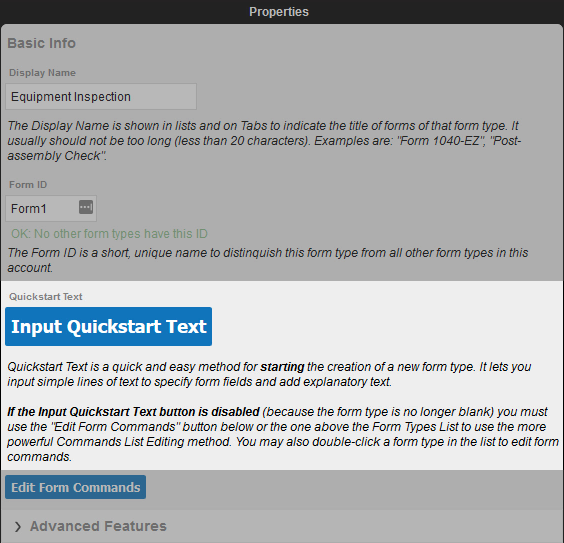 This will open the Quickstart Editor, which we will use to design our first form type.
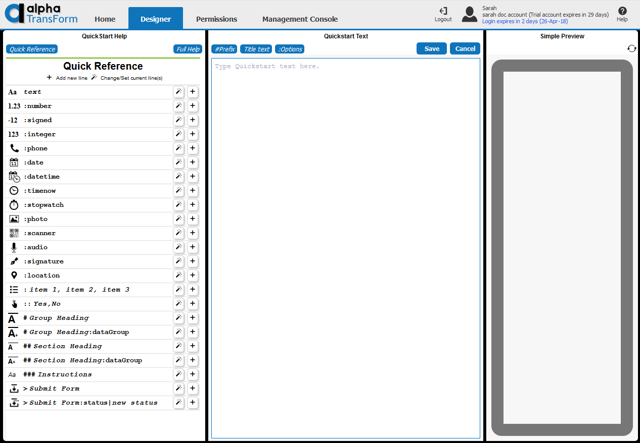
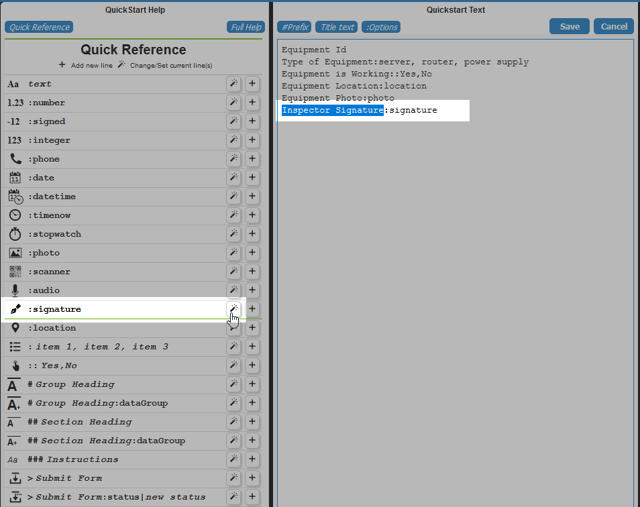
Equipment Id
Type of Equipment
Equipment is Working
Equipment Location
Equipment Photo
Inspector Signature
:item 1, item 2, item 3 option in the Quick Reference to change the Type of Equipment field to a list of choices. By default, three choices are assigned: Small, Medium, and Large.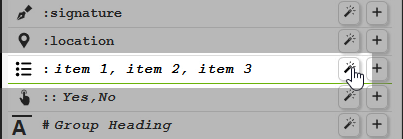
Choice 1, Choice 2, Choice 3 in the Quickstart Text editor and delete it. Then, type server, router, power supply after the colon to match the image below:

:: Yes,No option in the Quick Reference to change the Equipment is Working field to a button list. By default, the button list has two options: Yes and No. 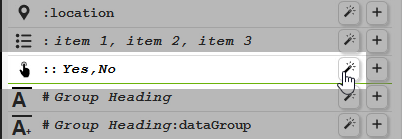
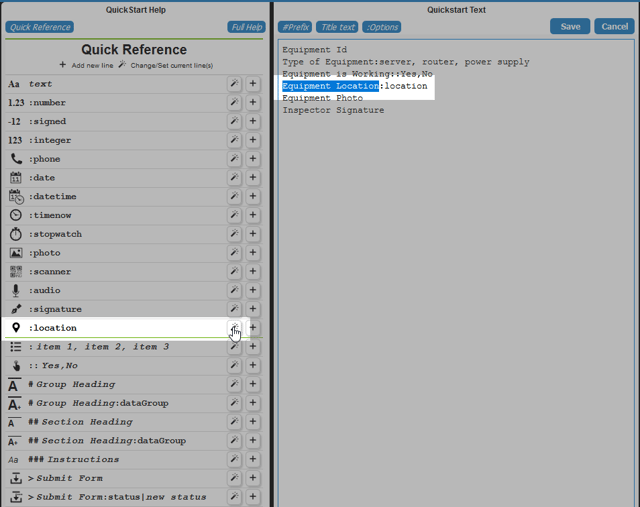
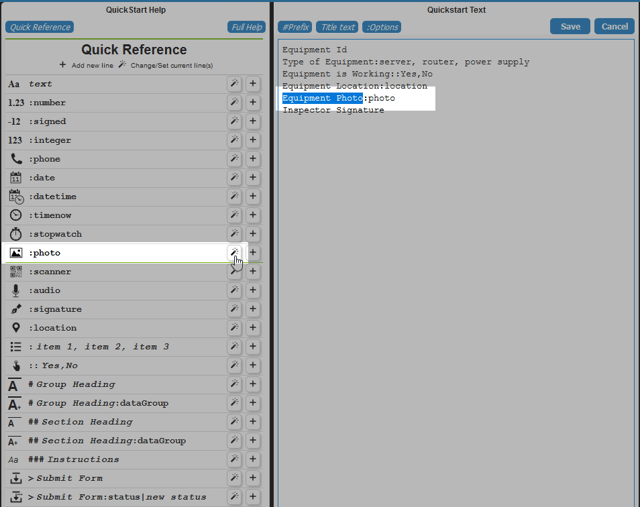
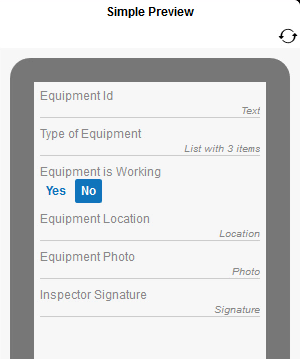
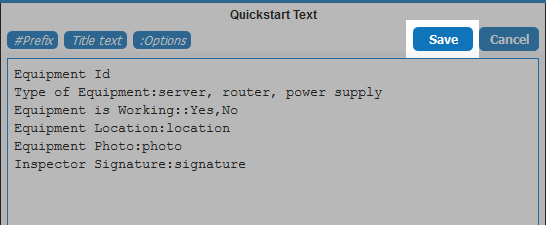 Important: Once you save, you will no longer be able to edit these fields using the Quickstart method. Instead, you can edit these fields by clicking the Edit Form Commands link (Form Type column) or button (Properties column) on the Designer tab.
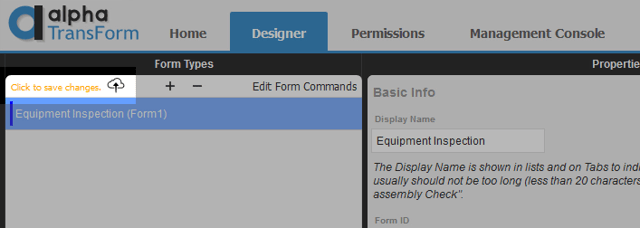
Forms can also be created using a template. To learn how this is done, see Creating a new Form Type from a Template.
Now that you have created and uploaded a Form Type, let's go try it out in TransForm Tutorial Part 2: Using the Alpha TransForm App.
The Alpha platform is the only unified mobile and web app development and deployment environment with distinct “no-code” and “low-code” components. Using the Alpha TransForm no-code product, business users and developers can take full advantage of all the capabilities of the smartphone to turn any form into a mobile app in minutes, and power users can add advanced app functionality with Alpha TransForm's built-in programming language. IT developers can use the Alpha Anywhere low-code environment to develop complex web or mobile business apps from scratch, integrate data with existing systems of record and workflows (including data collected via Alpha TransForm), and add additional security or authentication requirements to protect corporate data.
Alpha Software Corporation, based in Massachusetts, produces award-winning software that speeds mobile and web app development and deployment for business and IT. The core technology includes two components. Alpha Anywhere®, a full-stack low-code app development platform for building and deploying web and mobile apps. In just hours, Alpha TransForm® turns complex paper forms into powerful mobile forms that speed data collection.
Alpha Software is an InfoWorld Technology of the Year award winner, and scores near-perfect reviews from customers on crowdsourced review sites.
Customers rate Alpha Software highly for its speed of development, flexibility, offline apps, rich feature set and ability to scale predictably. For more information, visit https://www.alphasoftware.com/